AskSensors IoT Platform Documentation
Control Hardware with AskSensors over HTTP/HTTPS
Control AskSensors Actuators Summary:
1-Actuator HTTP/HTTPS Read API
2-Control ESP32 Actuators over HTTP/HTTPS
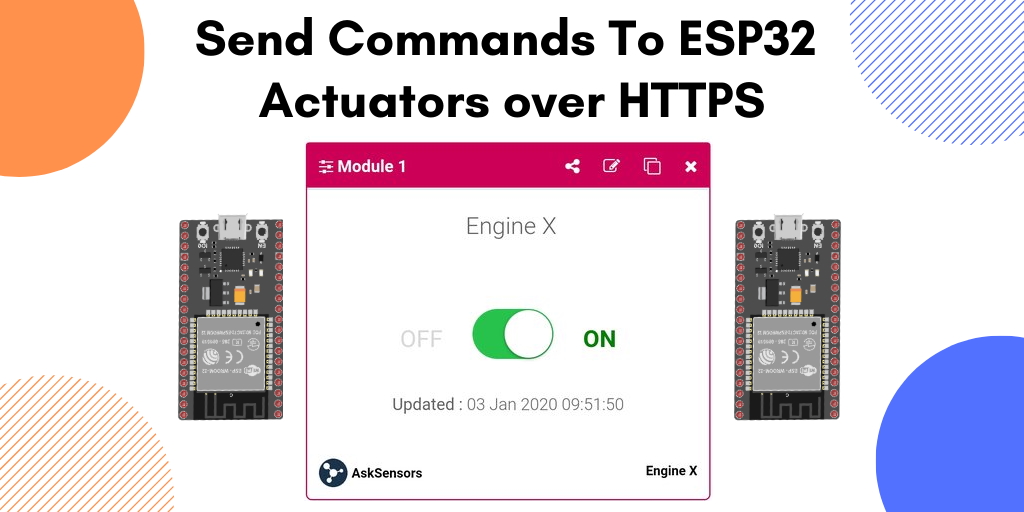
2-Control ESP32 Actuators over HTTP/HTTPS
After the big success of the ESP8266, the ESP32 is a new chip from Espressif that combines WiFi and Bluetooth wireless capabilities with two CPU cores and a decent hardware peripheral set.
This section shows how to send commands to your ESP32 device with AskSensors.
- Subscribe to a 15 days free trial(SIMPLE, PRO or GURU) AskSensors account.
- Create a new actuator device.
b) Required Material :
The hardwares needed in this section are:
- Computer running Arduino software.
- ESP32 development board.
- USB micro cable to connect ESP32 development board to the computer.
c) Install ESP32 in Arduino IDE:
If not done yet, follow the instructions below to install the ESP32 board in your Arduino IDE:
- Install the latest version of Arduino IDE software (1.8.7 or higher).
- Open the preferences window from the Arduino IDE : File> Preferences.
- Go to the "Additional Board Manager URLs" field, Enter the following URL:
https://dl.espressif.com/dl/package_esp32_index.json
If you already have the ESP8266 boards URL, separate the URLs with a comma as show below:
https://dl.espressif.com/dl/package_esp32_index.json,
http://arduino.esp8266.com/stable/package_esp8266com_index.json
Now, open boards manager (Tools > Board > Boards Manager), search for ESP32 and click the install button for the "ESP32 by Espressif Systems".
d) Required Software :
- Install the Official JSON Library for Arduino: Navigate to the Sketch > Include Library > Manage Libraries.
Wait for Library Manager to download libraries index and updated list of installed libraries.
Filter your search by typing Arduino_JSON. There should be a couple entries. Look for Arduino_JSON by Arduino. Click on that entry, and then select Install. - Download this demo from the AskSensors Github page.
- Your WIFI SSID and password.
- The Actuator device Api Key Out given by AskSensors.
- The time interval between two successive reads.
  const char* wifi_ssid = "..........";             // SSID

  const char* wifi_password = "..........";         // WIFI

  const char* apiKeyOut = "..........";      // Actuator API KEY OUT

  const unsigned int readInterval = 10000;   // read interval (in ms)
e) Run the code :
- Connect your ESP32 board to the computer via serial/USB and upload the code using the Arduino IDE. The code will be running automatically after Reset.
- Return to the AskSensors web appplication, open your actuator devices workspace and send commands to the actuator module that your ESP32 reads data from.
- Open a serial terminal in Arduino IDE. You can cross-check the ESP32 terminal reading with the values being sent from the AskSensors Application.
f) Source Code :
A basic source code is shown below. Please refer to the AskSensors Github page to get the latest version and updates.
/*

  Control ESP32 actuators with AskSensors

 * Description:  This sketch reads commands from AskSensors cloud (https://asksensors.com) using an ESP32 Wifi module.

 *  Author: https://asksensors.com, 2020

 *  github: https://github.com/asksensors

 */


#include <WiFi.h>

#include <WiFiMulti.h>

#include <HTTPClient.h>

#include <Arduino_JSON.h>


WiFiMulti WiFiMulti;

HTTPClient ask;

// TODO: user config

const char* ssid     = ".................."; //Wifi SSID

const char* password = ".................."; //Wifi Password

const char* apiKeyOut = "..................";      // Actuator API KEY OUT

const unsigned int readInterval = 10000;   // read interval (in ms)


// ASKSENSORS API host config

const char* host = "api.asksensors.com";  // API host name

const int httpPort = 80;      // port


void setup(){


    // open serial

    Serial.begin(115200);

    Serial.println("*****************************************************");

    Serial.println("********** Program Start : ESP32 reads commands from AskSensors.");

    Serial.println("Wait for WiFi... ");


    // connecting to the WiFi network

    WiFiMulti.addAP(ssid, password);

    while (WiFiMulti.run() != WL_CONNECTED) {

        Serial.print(".");

        delay(500);

    }

    // connected

    Serial.println("WiFi connected");

    Serial.println("IP address: ");

    Serial.println(WiFi.localIP());

}


void loop(){


    // Use WiFiClient class to create TCP connections

    WiFiClient client;


    if (!client.connect(host, httpPort)) {

        Serial.println("connection failed");

        return;

    }else {


      // Create a URL to read data from module 1

    String url = "http://api.asksensors.com/read/";

    url += apiKeyOut;

    url += "?module=module1";

    url += "&maxResults=1";


    Serial.print("********** requesting URL: ");

    Serial.println(url);

     // send data

     ask.begin(url); //Specify the URL


      //Check for the returning code

      int httpCode = ask.GET();


      if (httpCode > 0) {


            String payload = ask.getString();

            String command_value;

            Serial.println(httpCode);

            Serial.println(payload);


            Serial.print("********** Json parsing ");

            JSONVar askObject = JSON.parse(payload);

            Serial.println(askObject);


            // JSON.typeof(jsonVar) can be used to get the type of the var

            if (JSON.typeof(askObject[0]) == "undefined") {

              Serial.println("Parsing input failed!");

              return;

          }


            Serial.println("********** Read Actuator Command from AskSensors ");


        // read command value

          if (askObject[0].hasOwnProperty("value")) {

              command_value = (const char*)askObject[0]["value"];

              Serial.print("Command value: ");

              Serial.println(command_value);

           }

        // read date

          if (askObject[0].hasOwnProperty("date")) {

             Serial.print("Updated date: ");


              Serial.println((const char*)askObject[0]["date"]);

          }


        } else {

          Serial.println("Error on HTTP request");

      }


      ask.end(); //End

      Serial.println("********** End ");

      Serial.println("*****************************************************");


    }


    client.stop();  // stop client


    delay(readInterval);    // delay

}
Previous : Actuators API HTTPS |
Next : MQTT API |